|
Makeup and beauty products always make for such a fun stocking stuffer gift! Tarte Cosmetics is one of my favorite makeup brands as it consistently provides high quality makeup at affordable prices. The eye shadow palette pictured in the upper right hand corner of the collage has been a favorite of mine for YEARS. Great colors (some matte, some shimmery) and their shape tape is such a game changer for hiding dark circles, acne and other imperfections. You can’t go wrong with anything on their site but I’ve handpicked a few of my favorites for you below! I just ordered the four piece lipgloss set for myself and can’t wait for it to arrive! 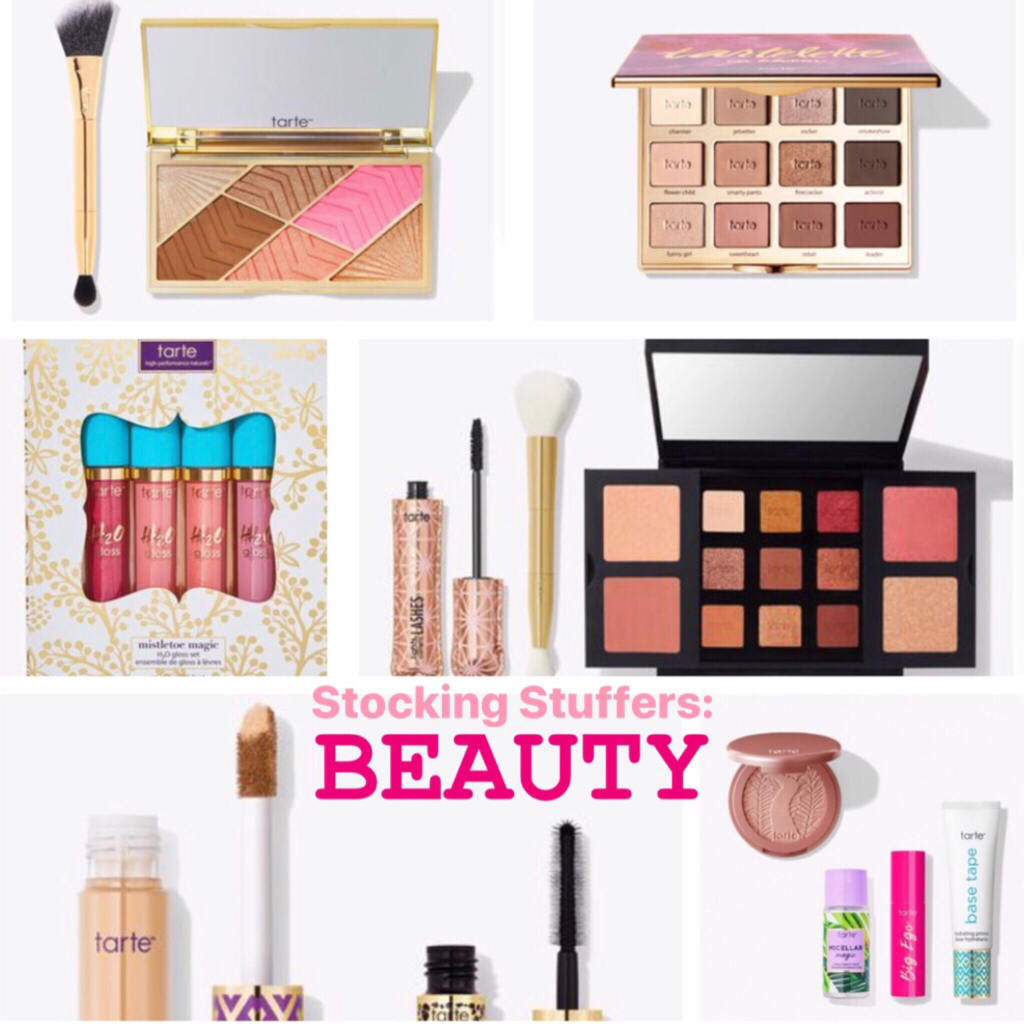 Looking for more gift ideas for women?
Check this Splurge or Save?! post for gifts under $25, under $50 and under $100 or this post featuring more Under $50 Gifts for Her Favorites. xo- Haley Want to know what’s in my makeup bag? Find out here.
1 Comment
I love makeup and have tried thousands of products in my thirty years but these are the ones I ALWAYS come back to. They are priced right and give me the results I am looking for time and time again. Most of them you can find at Ulta or Sephora and a few can even be found on Amazon or at your local drugstore. I spend about 8 minutes a day on my makeup and get complimented on it often. When the products are good it’s easy to apply them effortlessly and be out the door! 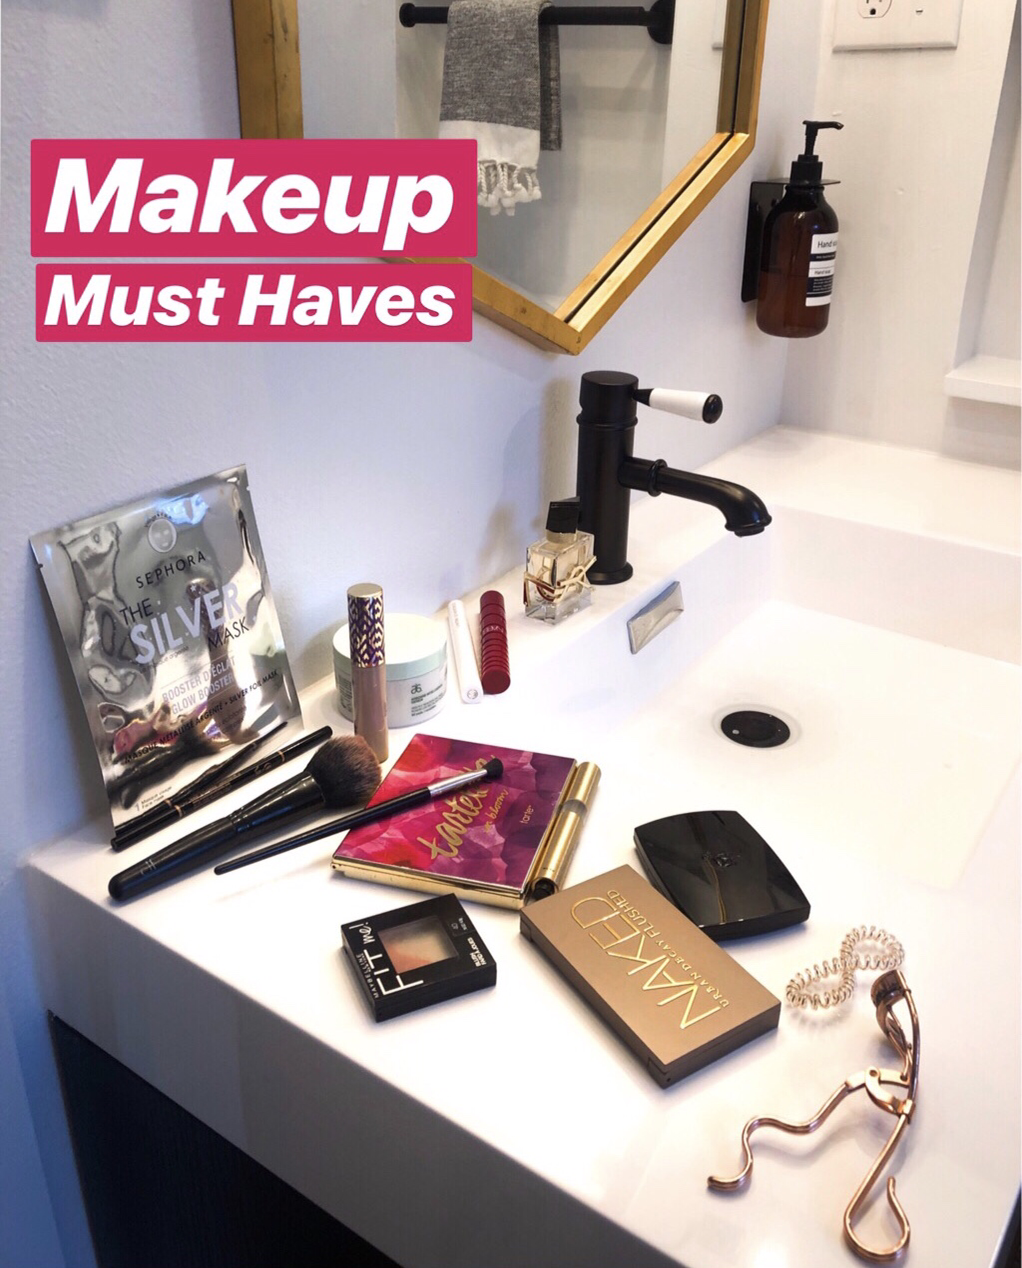 I have been using this Shape Tape for two years now and let me tell you, it is a GAME CHANGER. I dab a little under my eyes to hide dark circles, use it to cover any red spots or problem areas and it covers them right up, concealing imperfections beautifully. It stays on all day too. It comes in 30 different shades to match any skin tone; I wear the light neutral. I then apply either this BB cream or this IIID foundation from my friend Ashley over my whole face to even my skin tone and give me a good base to start with. This brow liner is the best of the best. I have tried so many and keep coming back to it because nothing compares. It comes in so many colors (I wear soft brown) and has a nice applicator tip on one end and a brow brush on the other end. I use the brush before and (lightly) after application to tame my eyebrows prior and give it a more natural look after. I’ve been using this palette of silky pressed powders for about 8 years. It was a great find and I haven’t found anything else I’ve loved more; it’s amazing. I get the color Naked and love it’s bronze, glow and blush trio. It creates a glowy, natural sun kissed look. When I’m wanting a little more color I add this blush as well. It’s super affordable, comes in a bunch of colors (I wear Peach 40) and stays on wonderfully. For extra highlight (photos, special occasions) I add this Becca Shimmering Skin Perfector in Champagne Pop. Now I have tried a ton of eyeshadow palettes before but this one takes the cake! A perfect blend of colors; some matte, some shimmer. If you are looking to create a gorgeous smoky eye or an everyday look this has it all. Long lasting wear and this palette lasts me sooo long (I wear it daily)! I love this eyeliner and it is super affordable. It comes with a built in sharpener and smudge stick and I love the smooth crayon application. I get it in black. I’ve only been using this duo for a few months but I am super happy with it. I first use a lash curler, then apply this primer. I wait about two minutes then apply this Nars Mascara (I usually do two layers). It adds great volume and length to my lashes and the primer helps keep my natural lashes healthy and strong while amplifying the effects of the mascara; I’m loving the results! While we are discussing makeup I HAVE to show you this amazing cosmetic travel case I just got! It holds everything I need for a week of travel and has made packing for trips so much easier! The dividers are removable so that you can change them around however best fits your needs/products and it comes with a long carrying strap too. It features brush holders, a zipper compartment and even a buckle strap that holds it open for you. It comes in black and pink and is only $20; highly recommend! 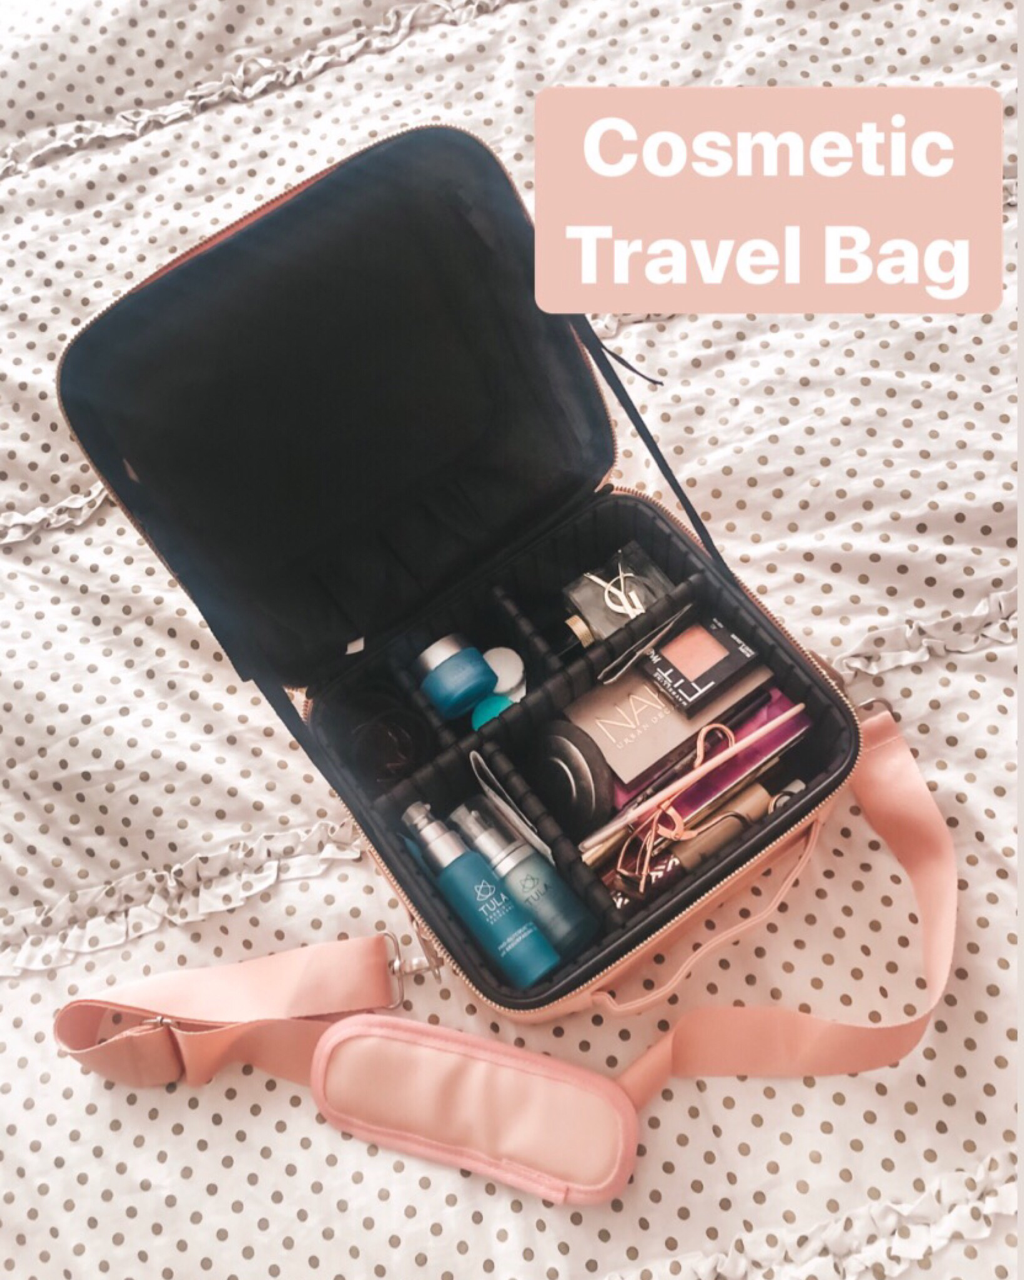 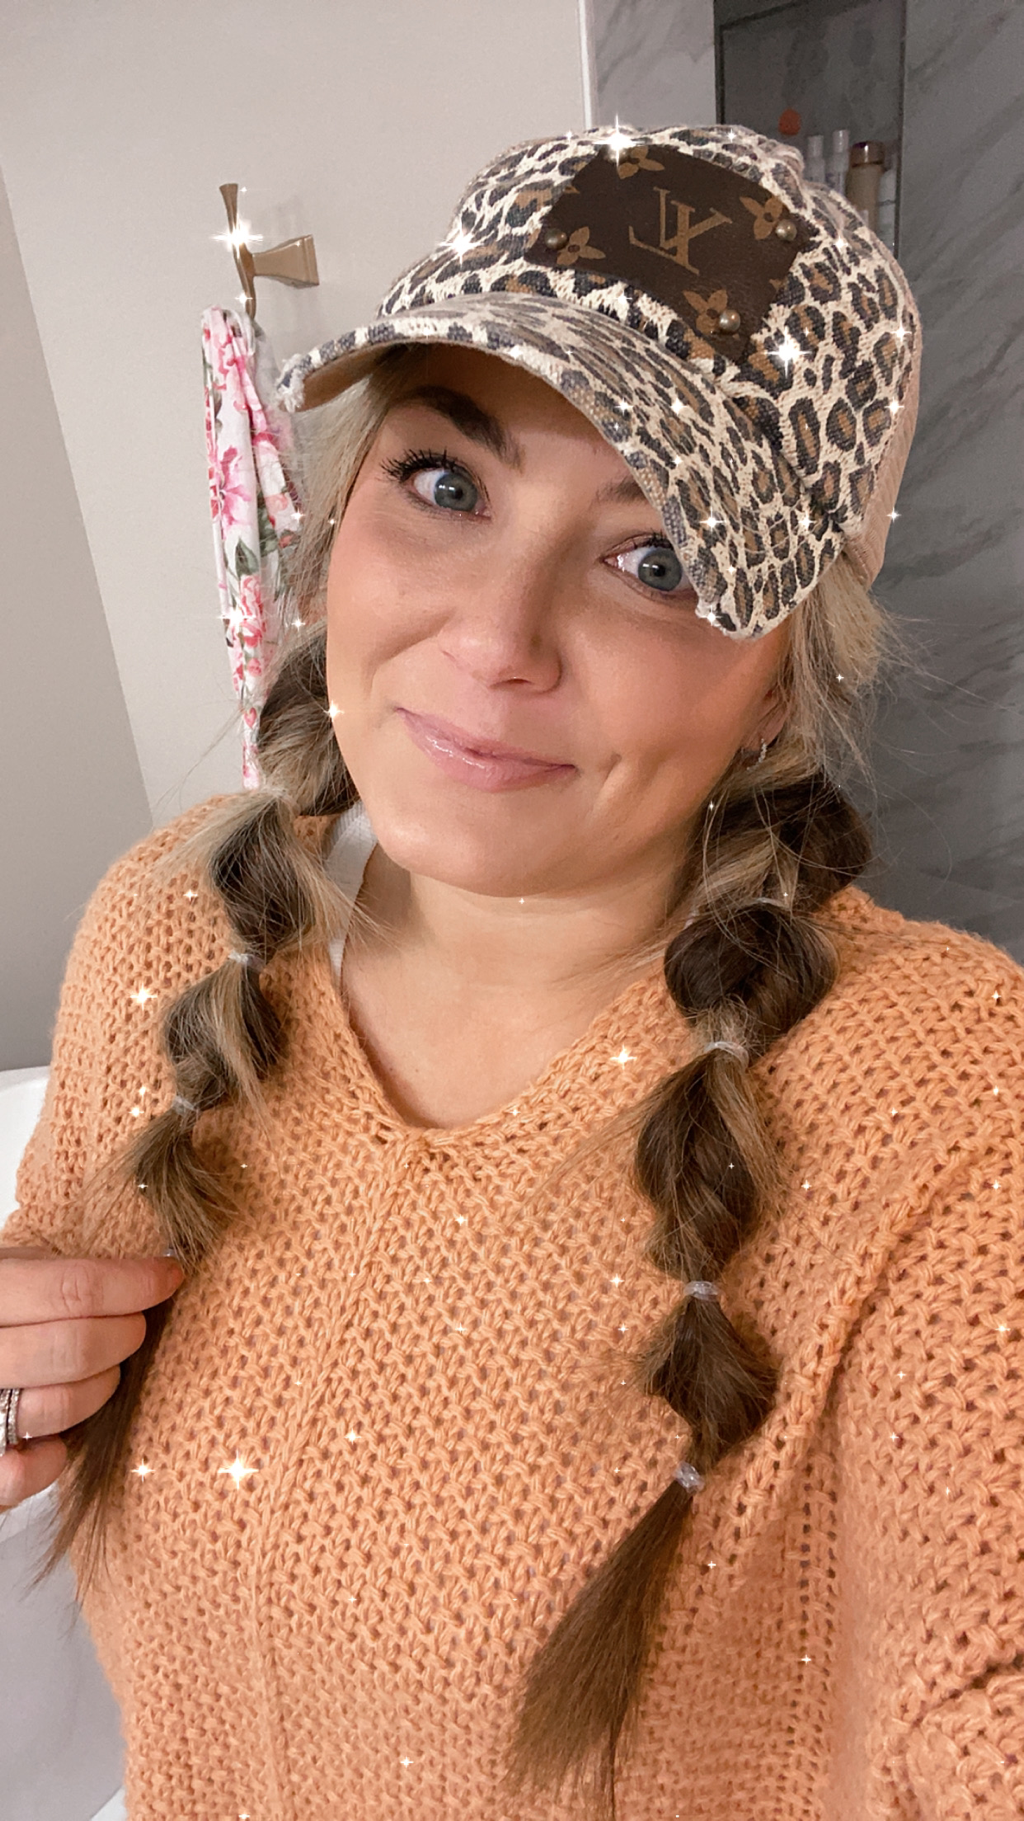 Interested in more of my routine? Check out How I Curl My Hair here. Spoiler alert: my curling iron is under $10!
Also pictured: my favorite resurfacing pads that are clinically proven to improve skin moisture, elasticity and firmness in just 2 weeks! Plus they reduce the look of dark spots and fine lines to make skin more smooth and even-toned. Another favorite has been this perfume that I am constantly asked about. xo- Haley Bathroom photos shot at the Blackbird Farmhouse AirBnB; read more about them on my blog post here! A question I get asked all the time is “how do you curl your hair like that”? I wear my hair loosely curled more often than any other way, mostly because it has a bit of a natural wave to it so throwing a few curls in it is easier and much quicker for me to do personally than straightening it with a flat iron! 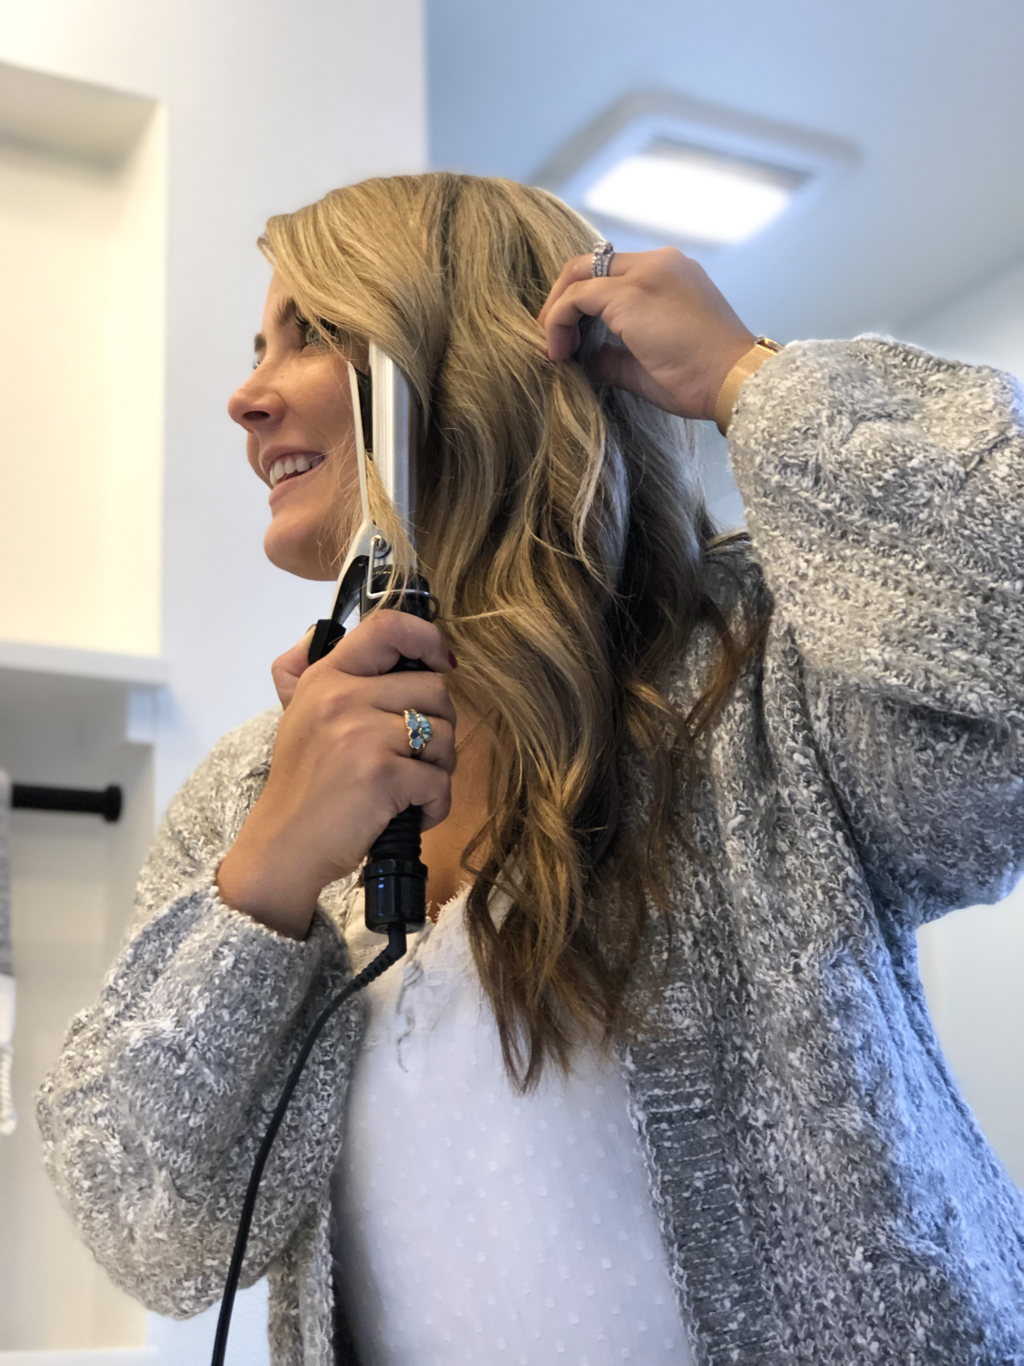 I have pretty long, very thick hair so I focus on only curling the top pieces all the way around as well as a few extra curls in the front. This of course takes significantly less time than curling it all and gets me out of the door quickly! It really does give off the same overall look as if I had curled it all and I’ll save time any way I can! 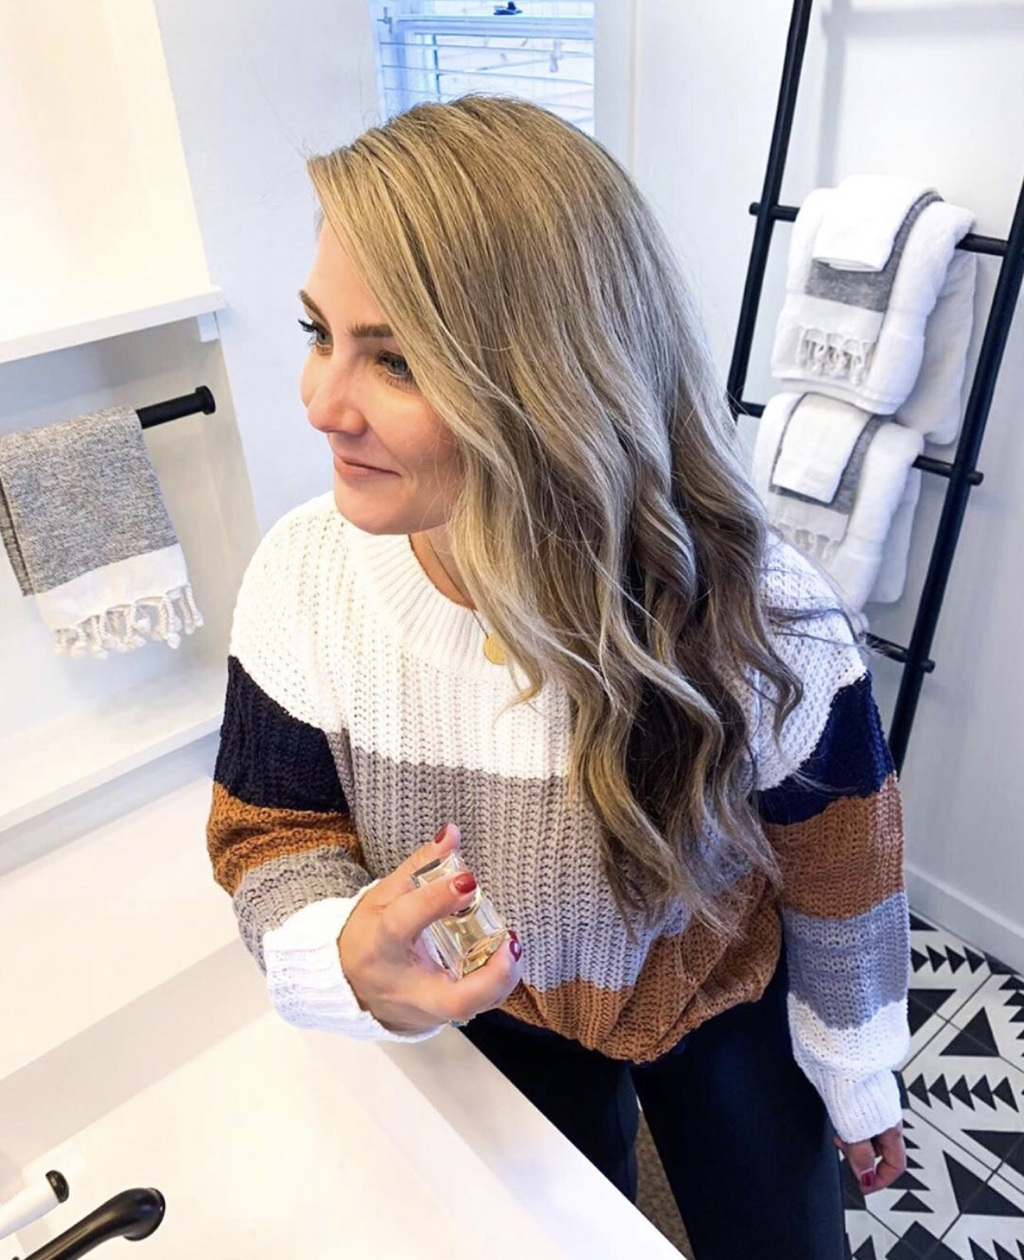 I always use this 1” curling iron when curling my hair. It is super affordable and has worked well for me over the last 2 years. I grabbed it in a pinch after my much more expensive curling iron stopped working and figured I’d only use it a bit while researching which curling iron to get next but I’ve been very happy with the results it’s given me so decided to stick with it! The 1” barrel works well with my long hair, you may want to find a thinner barrel if you have much shorter hair but it all depends on your preference. 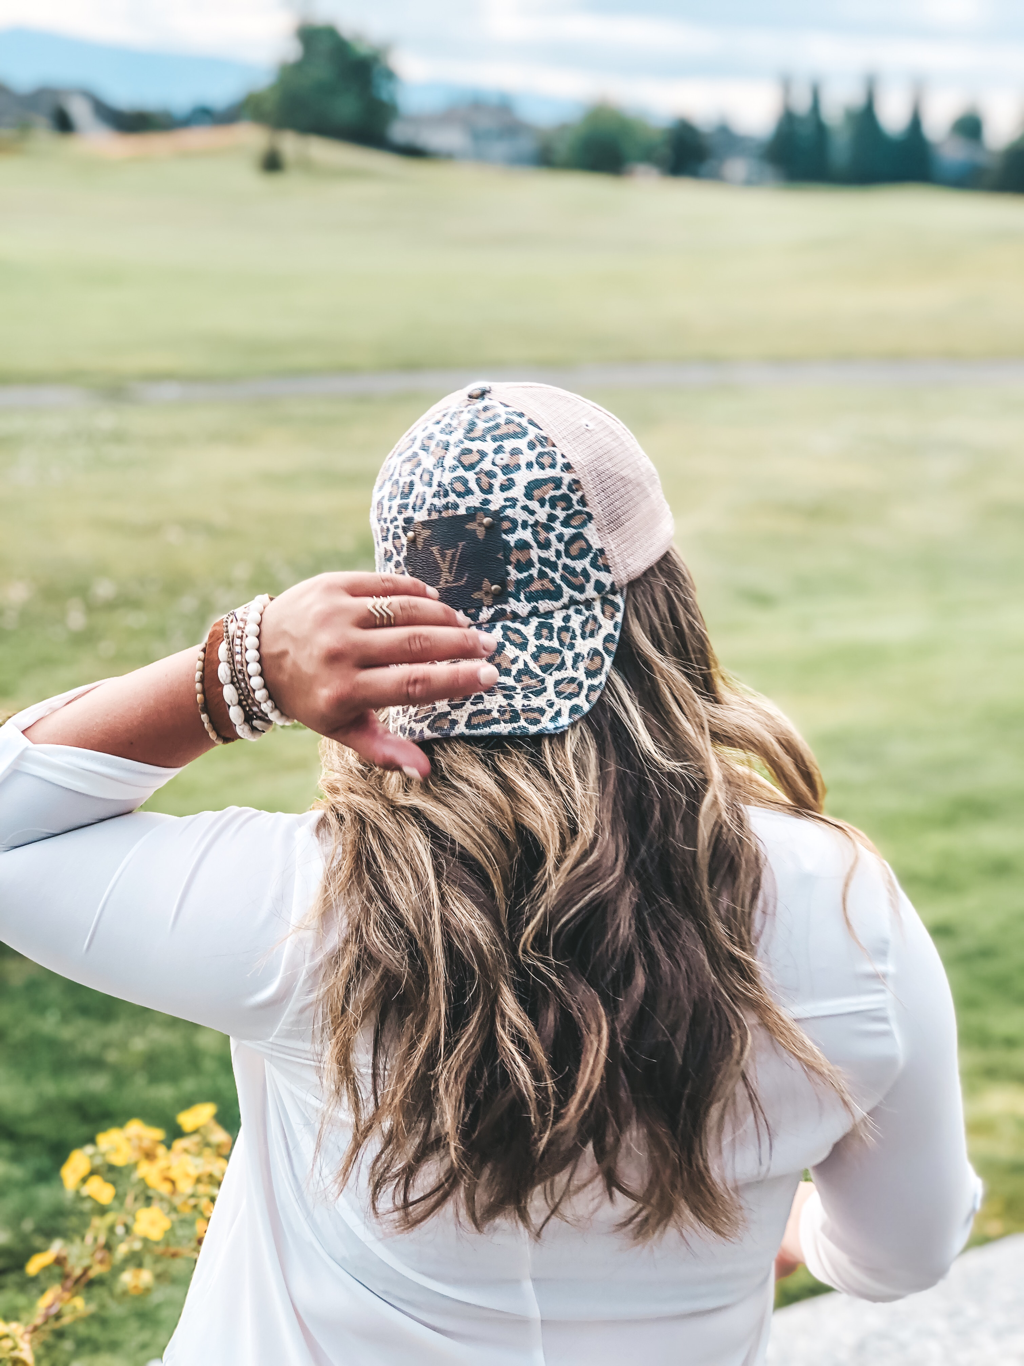 I curl the pieces near my face away from my face. Other than that I switch directions of the curl to give it a more casual, tousled look. I start a few inches down from my part and leave an inch or two at the bottom uncurled as well for a more natural look. I only hold each curl a few seconds before opening the barrel and letting it fall out. I then let all of the curls cool down completely and then run my fingers through my hair a few times making sure to break up each curl. You will want to be sure to wait until they are cool, otherwise they will lose too much shape and volume if they are tousled too much prior to cooling. After that, I spray lightly with this hairspray an arms length away from my hair, run my fingers through it again, and go! 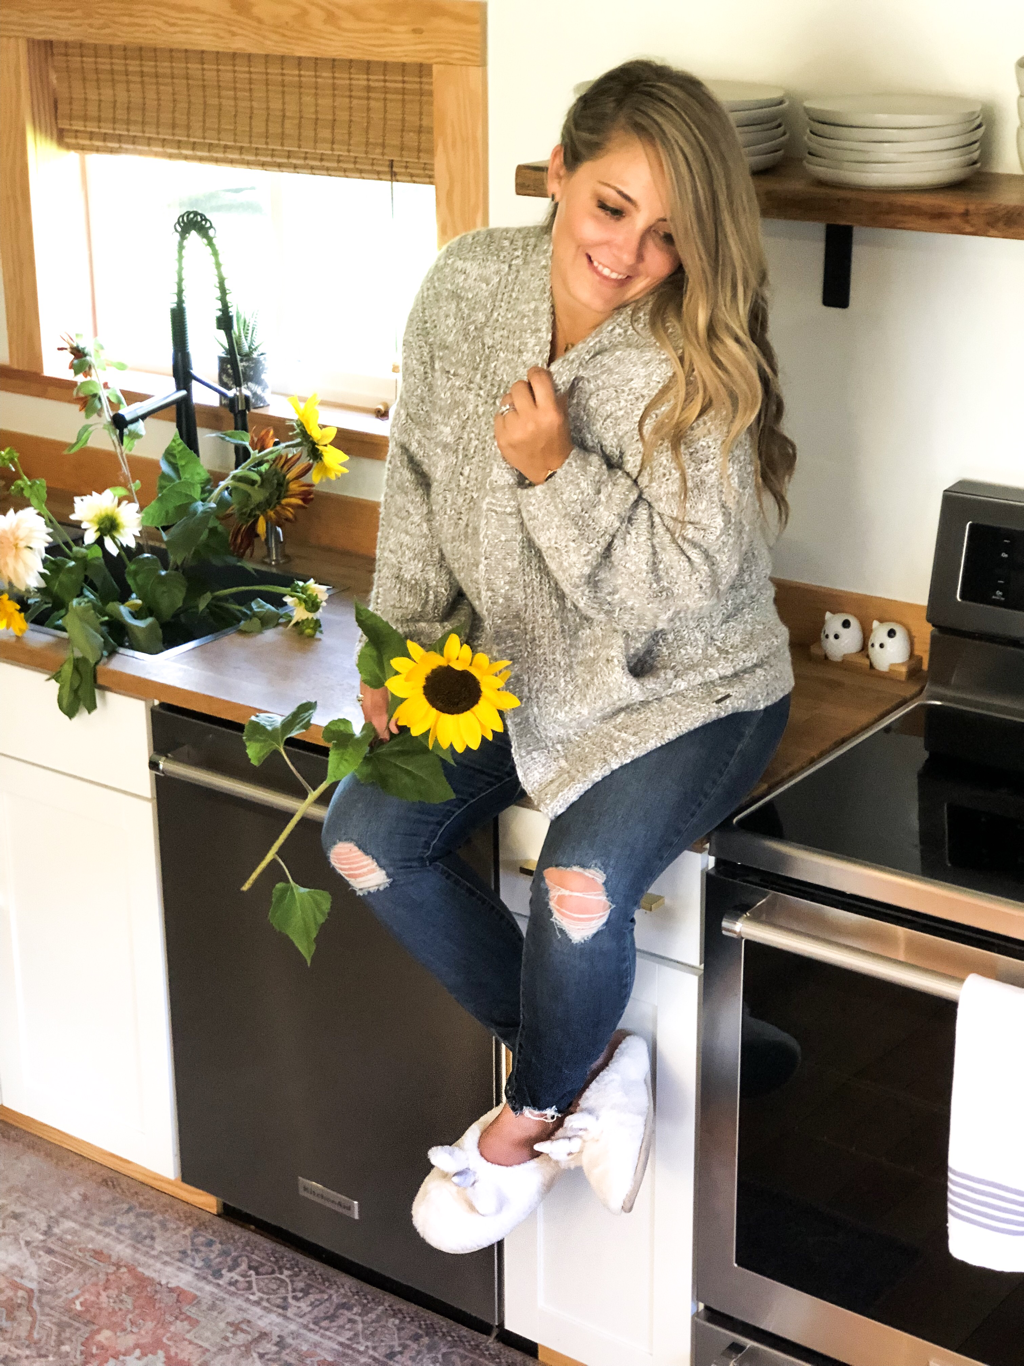 It’s super simple and I’m usually able to rewear it a day or two with little to no touch ups since my hair holds curl well. Sometimes I will throw it up in a curly pony tail, low side bun/ponytail or put a hat on if it’s not looking it’s best and those little changes make the curls still look cute! 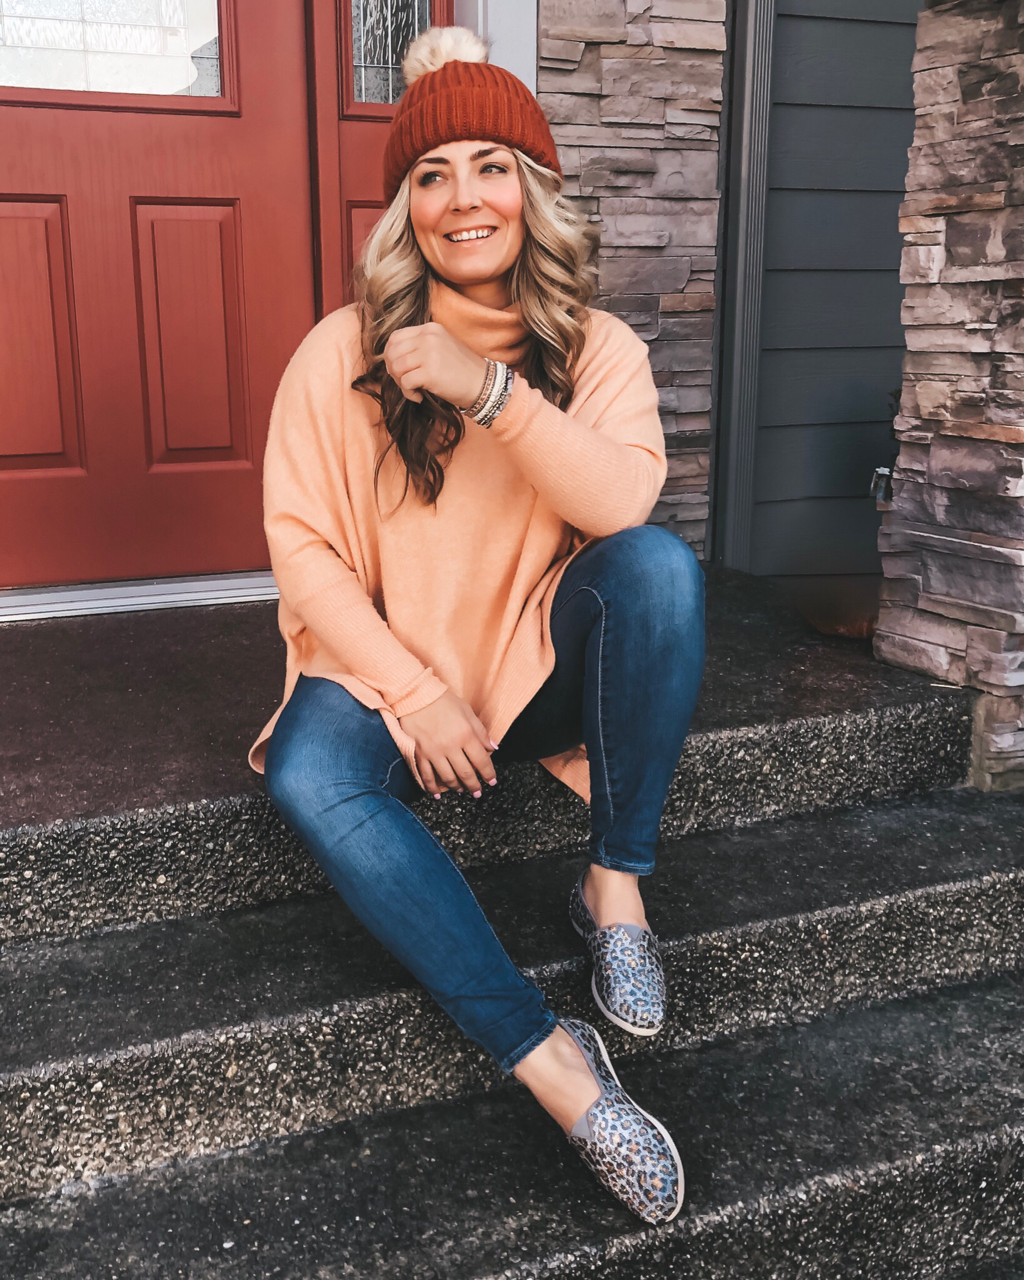 Here are a few of my favorite hats; linked below! I have gotten so many compliments on each of these. I used to never wear hats and now I can’t imagine not wearing them one or two days a week to accessorize or simply make getting ready in the morning with day 2 or 3 post curled hair that much easier! 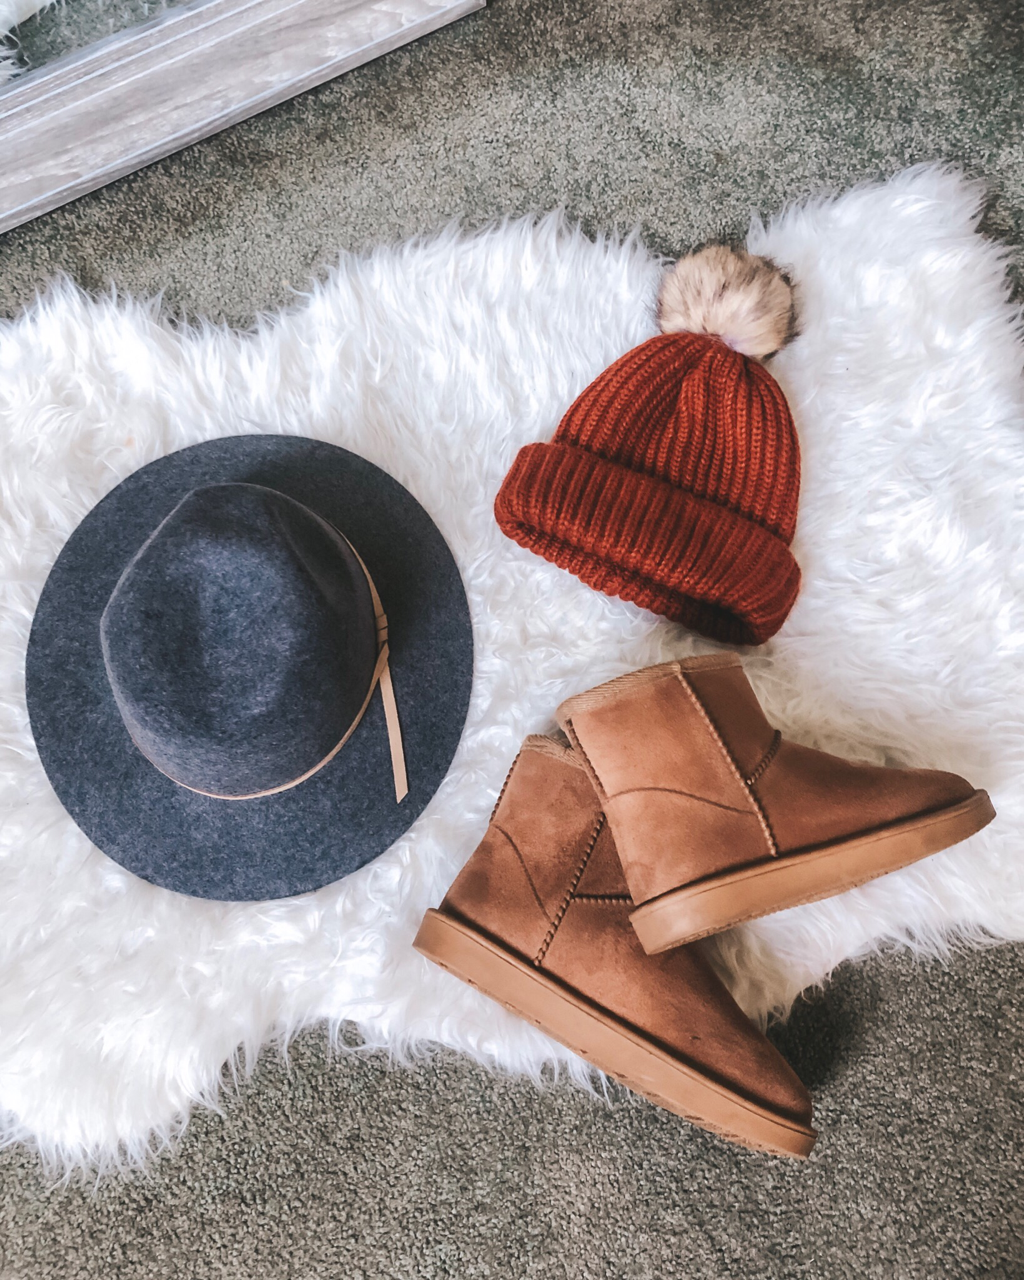 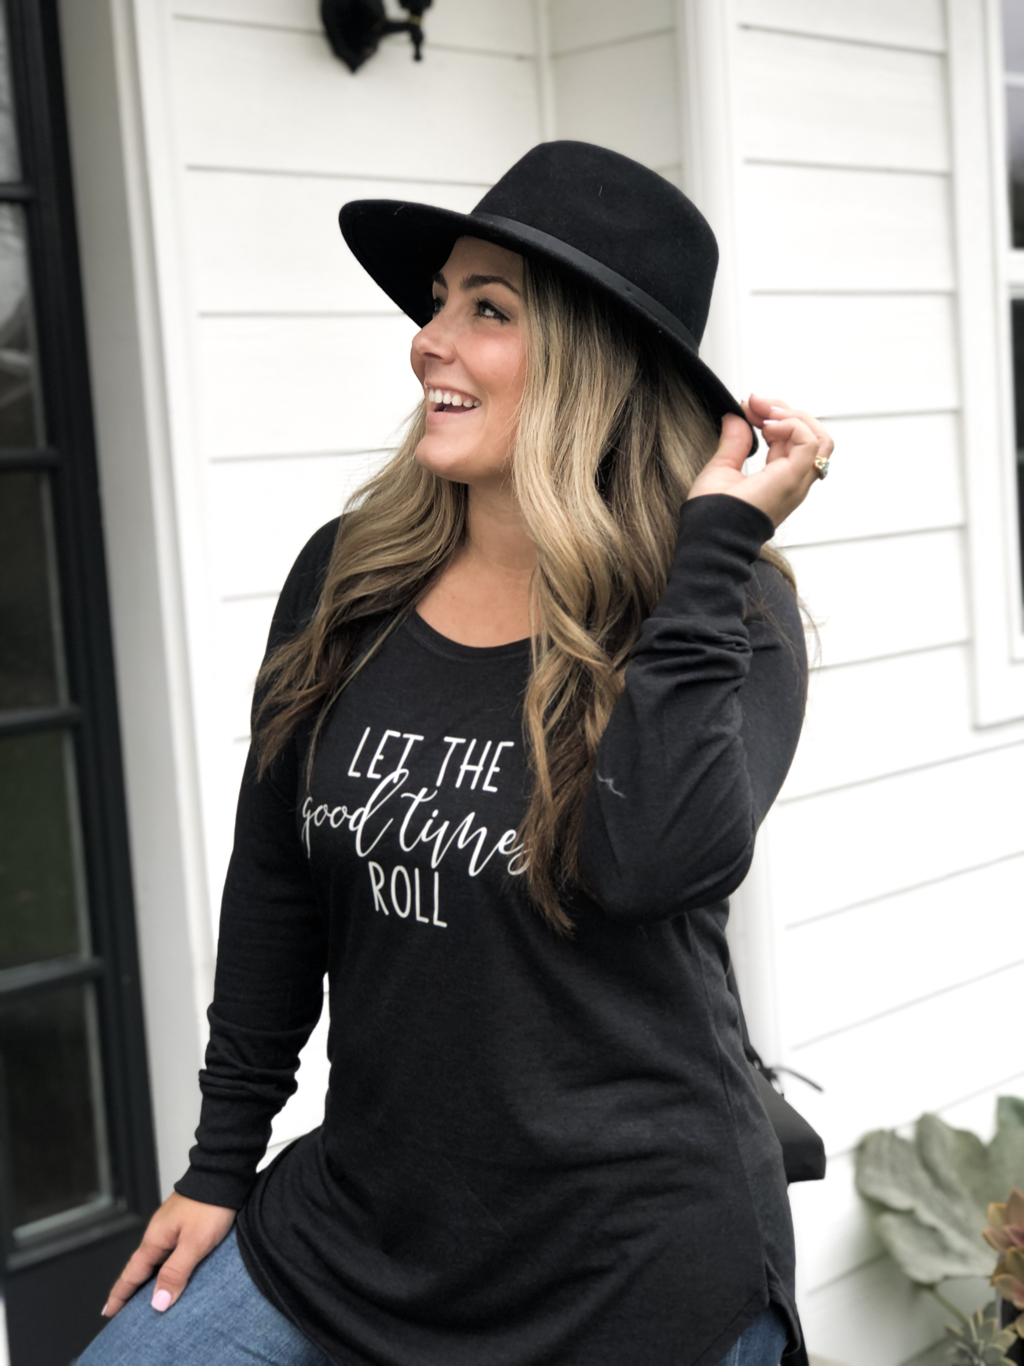 Fur Pom Beanie
Grey Felted Panama Hat Black Hat Leopard Louis Vuitton Hat Camo Louis Vuitton Hat All Black Adidas Hat Are you a hat girl? They have seriously been a life saver when getting the kiddos off to school in the early morning! xo- Haley Interested in more beauty products? Here are my Makeup Must Haves and Stocking Stuffer: Beauty Favorites. ⭐️⭐️Check out my top Gifts for Her Under $50 post here. ⭐️⭐️Follow me: Instagram // Facebook // LIKEtoKNOW.it // Pinterest |
Beauty Features & FavesMy favorite places to shop for hair, makeup and skincare products! Archives
January 2022
|
 RSS Feed